Problem Overview
A functioning pilot light is the heart of a traditional gas water heater, acting as the ignition source for the main burner. When this tiny flame goes out, your system can no longer heat water.
Beyond total failure, a pilot light that flickers or changes color can indicate underlying issues like poor ventilation, a failing thermocouple, or gas pressure fluctuations. Learning how to check your water heater pilot light and regularly inspecting this component allows you to catch minor maintenance needs before they evolve into an emergency.
Tools Needed
- A bright LED flashlight
- A long-reach lighter (if manual ignition is required)
- An adjustable screwdriver (for access panels)
- A small mirror (for viewing hard-to-reach burner angles)
- A clean, dry cloth
Step-By-Step Instructions
Step 1: Locate the access panel at the bottom of the water heater tank. Most units have an outer metal door that slides up or pops off, and some may have an additional inner shield held in place by a single screw.
Step 2: Use your flashlight to peer into the combustion chamber. Look for a small, steady blue flame. A healthy pilot flame should be about one inch tall and wrap slightly around the tip of the thermocouple sensor.
Step 3: Observe the color and stability of the flame. If you see a yellow or orange flame, this indicates incomplete combustion, which is often caused by dust or a lack of oxygen in the burner area. If the flame is dancing or blowing around, there may be a draft in the room or a problem with the venting system.
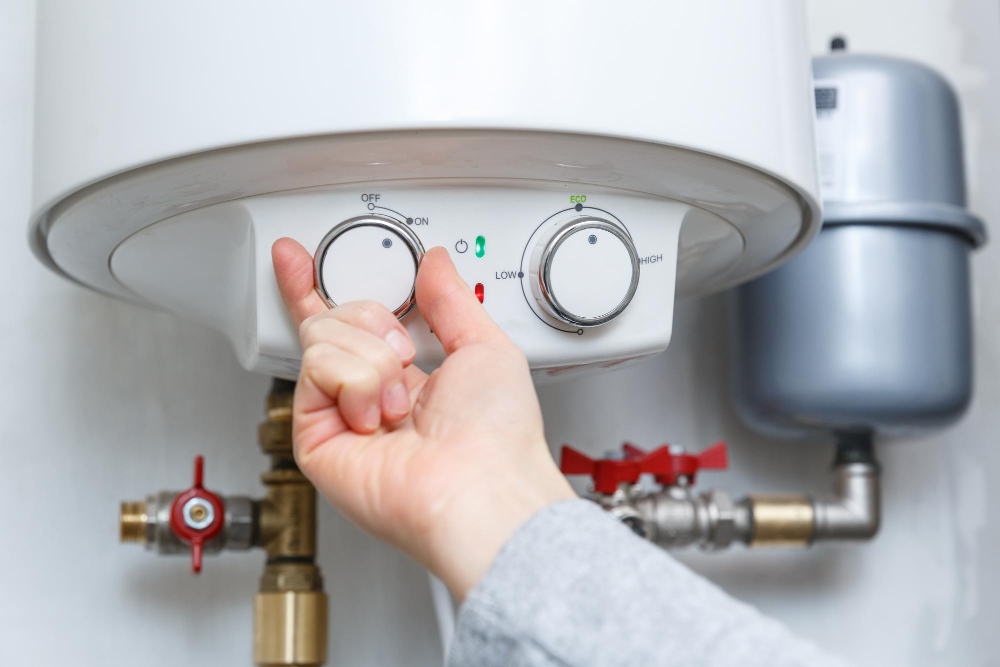
Step 4: If you do not see a flame at all, check the gas control knob on the front of the tank. If the knob is in the “On” position but no flame is present, the pilot has extinguished. Turn the knob to “Off” and wait at least ten minutes to let any gathered gas dissipate before attempting to relight it.
Step 5: Gently wipe away any visible dust or cobwebs from around the air intake vents at the base of the heater. Obstructions here can “starve” the pilot light of oxygen, causing it to go out frequently. Ensure that no flammable items like cardboard or rags are leaning against the heater.
Step 6: Once you confirm the pilot is lit and healthy, replace the inner shield and outer access panel. Monitor the water temperature over the next hour to ensure the main burner is firing correctly. If the pilot goes out immediately after you replace the covers, the unit may have a restricted air supply.
Safety Warnings
If you smell a strong odor of gas, do not attempt to light the pilot or flip any electrical switches; leave the house immediately and call for help. Never stick any objects into the combustion chamber while the burner is active. If the access panels are hot to the touch, wait for the unit to cool down before handling them.
When to Call a Professional
If the pilot light continues to go out after relighting it multiple times, there may be a more serious issue, such as a malfunctioning thermocouple, a clogged pilot tube, or a faulty gas valve. These components require specialized tools and knowledge to repair. A professional plumber or technician can diagnose and resolve the issue safely.
Schedule a Water Heater Inspection
Our technicians are available for comprehensive repairs and safety checks on all gas models. Contact us to book an appointment and keep your hot water flowing safely.